Understanding the Basics of Oxy Acetylene Welding Kit
Oxy-acetylene welding is a versatile and widely-used process that combines oxygen and acetylene gases to produce a flame capable of melting and fusing metals. Individuals seeking to engage in welding projects often start with an oxy acetylene welding kit, which provides the essential tools needed for both welding and cutting tasks.
What is an Oxy Acetylene Welding Kit?
An oxy-acetylene welding kit is a collection of equipment used for performing welding and cutting tasks with a flame fueled by a mixture of oxygen and acetylene gases. This welding method is popular among professionals and hobbyists alike, as it allows for precise control of the heat and is capable of welding various types of metals including steel and aluminum.
Components of the Kit Explained
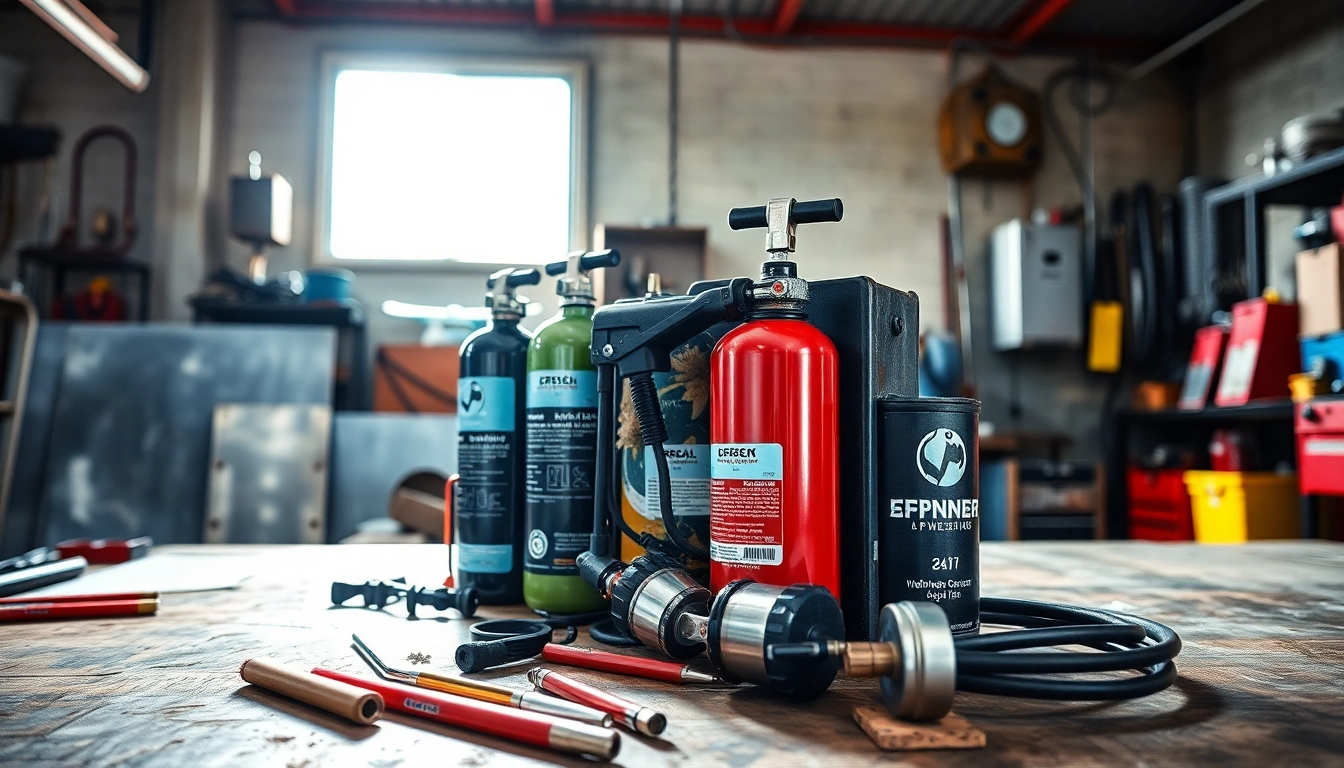
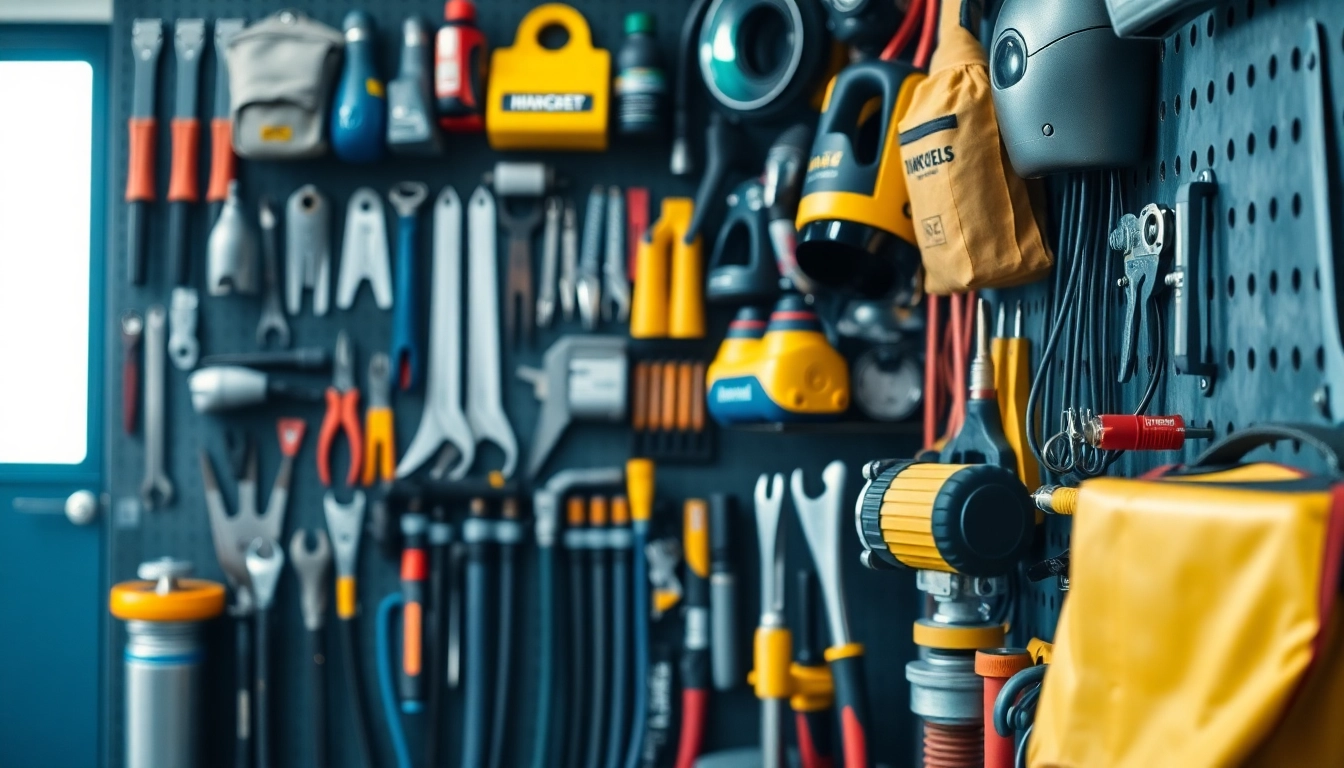
Understanding the components of an oxy-acetylene welding kit is vital for effective use. Here’s a breakdown of what you typically find in a standard kit:
- Oxygen and Acetylene Cylinders: These are high-pressure tanks that store the gases. The oxygen tank is usually green, while the acetylene tank is red.
- Regulators: These devices control the flow of gases from the cylinders and reduce the pressure to a manageable level.
- Hoses: Flexible tubes that carry the gases from the regulators to the torch. These are typically color-coded — red for acetylene and green for oxygen.
- Welding Torch: The tool where the gases mix and are ignited to produce a flame.
- Welding Goggles or Helmet: Essential for eye protection from the bright flame and harmful UV rays.
- Welding Tips: These are replaceable heads of the torch that deliver the flame; different tips are used depending on the task.
- Flame Arrestors: Safety devices included to prevent flames from traveling back into the hoses.
Applications and Benefits of Oxy Acetylene Welding
The oxy-acetylene welding process is not just flexible, but it also has a wide range of applications:
- Welding: This method is primarily used to weld various types of metals, making it essential for manufacturing and automotive repair.
- Cuts Metal: With a properly adjusted flame, oxy-acetylene torches can cut through metals of varying thicknesses with high precision.
- Brazing and Heating: The kit can be used for brazing tasks and providing localized heating for metal shaping and forming.
Among its advantages, the oxy-acetylene welding system offers portability, affordability, and simplicity, making it an accessible choice for beginners and seasoned welders alike.
Choosing the Right Oxy Acetylene Welding Kit
When looking to invest in an oxy-acetylene welding kit, it is crucial to consider your specific needs, the range of tasks you plan to perform, and the level of experience you have.
Key Considerations for Beginners
For those just starting with welding, focusing on user-friendly options is essential. Look for kits that offer:
- Ease of Use: Simple adjustable regulators and clear instructions can significantly reduce the learning curve.
- Complete Kits: Select a comprehensive package that includes all necessary components, eliminating the need to purchase items separately.
- Support and Resources: Manufacturers who offer tutorials or guides can be beneficial for beginners.
Reading reviews and seeking recommendations from experienced welders can vastly aid in making the right choice.
Price Ranges and Quality Indicators
The price of oxy-acetylene welding kits can vary significantly based on the brand, quality, and components included. Basic kits can start around $200, while more advanced setups can exceed $1,000. Factors that can indicate quality include:
- Component Material: Durable materials that resist corrosion typically signal higher quality.
- Brand Reputation: Established brands often have better warranties and customer service support.
- User Reviews: High ratings and positive user commentary often indicate a reliable and effective product.
Recommended Brands and Models
Some brands are well-known for their high-quality oxy-acetylene welding kits. Here are a few popular options that are often recommended:
- Victor Technologies: Known for their reliable and durable welding equipment.
- Smith Equipment: Offers a variety of torch kits suitable for different welding needs.
- Harris: A reputable name with kits that balance quality and affordability.
Consider visiting local welding suppliers or conducting online research to compare models and features that suit your specific welding tasks.
Setting Up Your Oxy Acetylene Welding Kit
Setting up your oxy-acetylene welding kit correctly is crucial for safety and effectiveness. Follow these guidelines to ensure a successful setup.
Safety Precautions to Follow
Before starting any work with an oxy-acetylene kit, adhering to safety precautions is essential:
- Wear Protective Gear: This includes flame-resistant clothing, gloves, and appropriate welding goggles or helmets.
- Ensure Proper Ventilation: Always work in a well-ventilated area to avoid inhaling harmful gases.
- Check for Leaks: Regularly inspect hoses and connections for leaks; this can be done using soapy water to find bubbles forming around potential leaks.
Assembly Instructions and Tips
Follow these steps to successfully assemble your oxy-acetylene welding kit:
- Securely attach the regulators to the oxygen and acetylene tanks. Ensure they are properly aligned and tightened appropriately.
- Connect the hoses to the regulators and the torch, ensuring that the red hose is attached to the acetylene side and the green hose to the oxygen side.
- Access the welding torch, insert the desired tip, and ensure it is tightly fixed.
After assembly, double-check all connections before proceeding with any welding tasks.
Understanding Gas Setup and Usage
Understanding how to properly set up and adjust the gas flow is vital for effective welding:
- Open the valve on the oxygen cylinder first to allow oxygen to flow.
- Open the acetylene cylinder valve slowly and then back it off by one quarter turn for safe handling.
- Adjust the flow to provide the desired pressure using the regulators. Ideal settings typically range between 5-15 PSI for oxygen and 3-7 PSI for acetylene, depending on the application.
Techniques for Effective Oxy Acetylene Welding
Once the kit is set up, mastering welding techniques is the next step to ensure high-quality work.
Basic Welding Techniques for Beginners
New users should familiarize themselves with these foundational techniques:
- Proper Flame Adjustment: A neutral flame is ideal for most welding tasks, characterized by a clear inner cone that reaches a point. Adjust the oxygen and acetylene flows for a balanced flame.
- Welding Positions: Practice welding in various positions (flat, horizontal, vertical) to develop skills and comfort with the torch.
- Speed and Movement: Maintain a consistent speed and angle as you move along the joint to create uniform welds.
Common Mistakes to Avoid
To help beginners steer clear of pitfalls, here are some common mistakes:
- Incorrect Flame Setting: Not adjusting the flame can lead to defects in weld quality.
- Poor Preparation: Failing to clean and prepare metal surfaces can hinder effective welding.
- Inadequate Training: Skipping practice time can result in accidents, as proficiency takes practice.
Advanced Techniques for Professionals
Experienced welders often employ these advanced techniques:
- Multi-pass Welding: For thicker materials, using multiple passes can create stronger joints.
- Different Joint Configurations: When working with various joint types, adjust techniques based on whether it’s a butt, lap, or corner joint.
- Heat Control: Understanding how to manage heat input can help to avoid warping or burning through metals.
Maintaining Your Oxy Acetylene Welding Kit
Regular maintenance keeps the oxy-acetylene welding kit functioning correctly and extends its lifespan.
Routine Maintenance Checklist
Routine maintenance tasks include:
- Inspecting hoses for wear, cracks, or leaks.
- Cleaning the torch head and tips to ensure proper gas flow and flame stability.
- Checking cylinder pressure gauges regularly to ensure they are within acceptable ranges.
Troubleshooting Common Issues
If you encounter issues while using your welding kit, these solutions may help:
- Flame Issues: If the flame is irregular, check for clogs in the tips or improper gas mixture settings.
- Leaking Gas: If you smell gas, immediately shut off the tanks and inspect all connections and hoses for signs of damage.
When to Replace Components
Knowing when to replace components is essential for safety:
- Replace hoses every 3-5 years, or sooner if you notice cracks or bulges.
- Change out torch tips if performance declines or if visible damage occurs.


Leave a Reply